New bannister renovation

While swiping through Pinterest I found this great idea for updating old style staircase banisters.  If you’re looking for a quick update and are handy with tools, (even if you’re not, this looks pretty simple), this might just do the trick.

IMG_1216

Click here the read article from remodelaholic.com.

There looks like there may be another job added onto my forever-growing list of projects!

Thanks for reading.

Jo xx

Free laundry room printables

Did someone say FREE!  Yes, these laundry room printables are easy to download and print, and look fab.

Doing laundry is pretty ‘blah’, so I needed a bit of inspiration in this room to give it life.  So off to Pinterest I went.

I found some lovely printables that would go perfectly in my laundry.  I printed them off, stuck them into some spare frames I had and hung them up.

It was that easy!

Here’s the link to the printables.  It’s from a cute website called postcardsfromtheridge.com.

This is what mine look like.

IMG_1195

IMG_1199

Thanks for reading.

jo xx


Hanging photos like a pro

With all this rain we’ve had recently, I’ve been stuck inside and forced to finish off some projects I’ve been putting off.  One of these was the wall along the stairs.  It has been a blank canvas for a while, so I bit the bullet and decided today was the day to get some family photos out and up on the wall.

I’ve never had a double story home, so when it came time to hang them, I had to think twice.  As I normally do I went and checked out Pinterest for inspiration and direction and found this great article by Chasing Foxes.

I also wanted a ‘home sweet home’ centrepiece and found this free printable by Miss Homebody.com.  I love it.

This is the end result.  I’m pretty happy with how it turned out.

IMG_1161.JPG

Thanks for reading.

Jo xx


DIY Whiteboard calendar

A while ago in my search for organisation I came across a fab idea.  The DIY dry erase board.  Here are a few I’ve had in the past and made for friends.


There wasn’t a spot big enough for my old one, so it was time for an update.  Any excuse to go shopping!

I normally go to a second hand store and get what I want but none of them had the size I needed.  Here’s the picture frame I ended up buying.


IMG_1102

The next thing to do was to remove the photo in the frame and cover the backing board with nice contact or funky wrapping paper, (something that you like the look of as it is going to be the background of your calendar).

I chose a marble look contact.  I’m a bit obsessed with it at the moment.

Decide how big you want the calendar and draft it up on the contact or wrapping paper that you stuck onto backing board.  Do it in pencil as you might not like it and want to change things around to suit.

IMG_1105

Once you’re happy with it, then do it again in permanent marker.

IMG_1106

Add anything permanent you would like before you put it back in the photo frame and that’s it, you are done.

Here’s  what mine looks like.

IMG_1133.JPG

I just need to hang it.

Thanks for reading.

jo xx


My office reveal

I’ve told you I like IKEA.  So it shouldn’t be a surprise that I have turned one of their wardrobes into an office nook.  Crazy you may say!  Well, a little but it works.

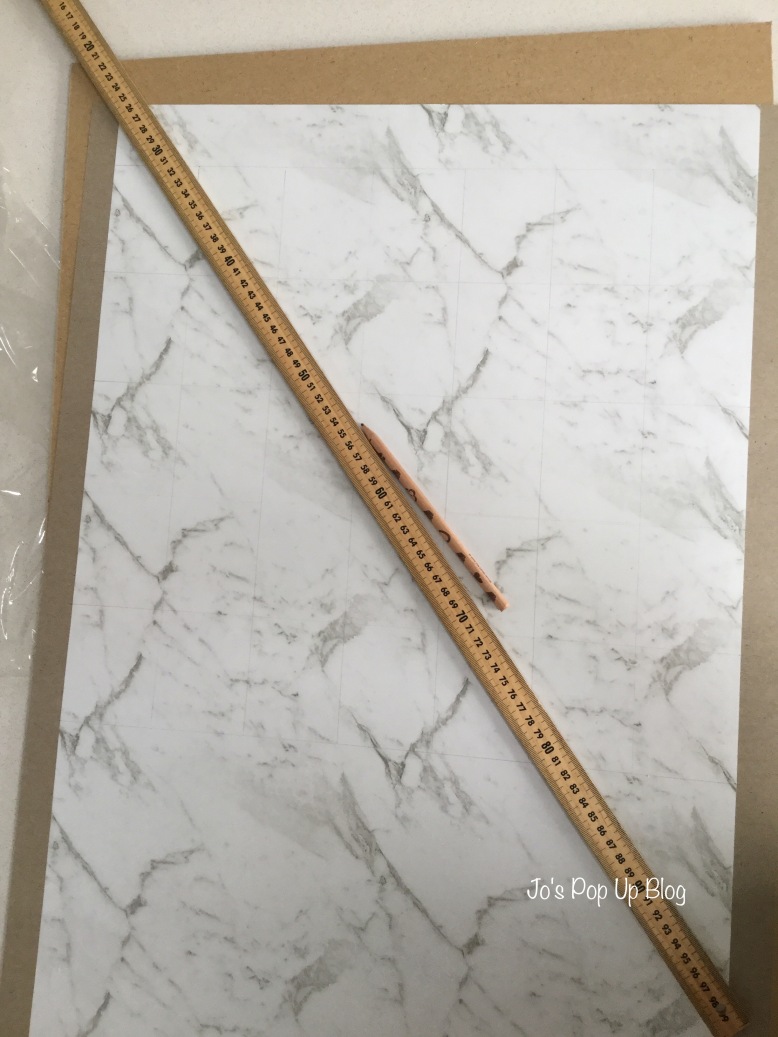
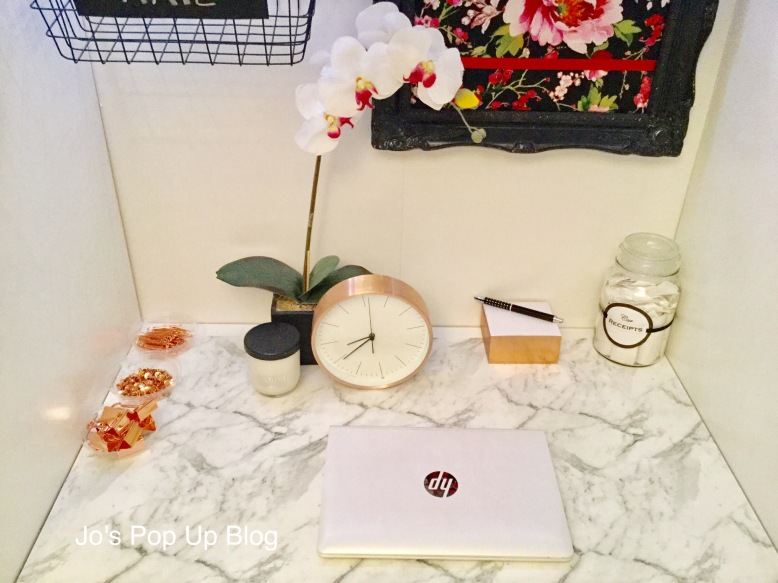
I’m loving the current trend of marble and copper together.  That was my inspiration for this project.  I’ve had a roll of marble ‘look’ contact from Kmart for a while waiting for the right time to use it.  It looks like the day has come to use this bad boy!

First I had to do some serious declutter of what was in the cupboard.  At one point I thought this was a very bad idea (I lie, at every point).  This is what the cupboard looked like before.

img_1059

This was the hardest part but as it turns out it was the best thing. No one needs all that crap!

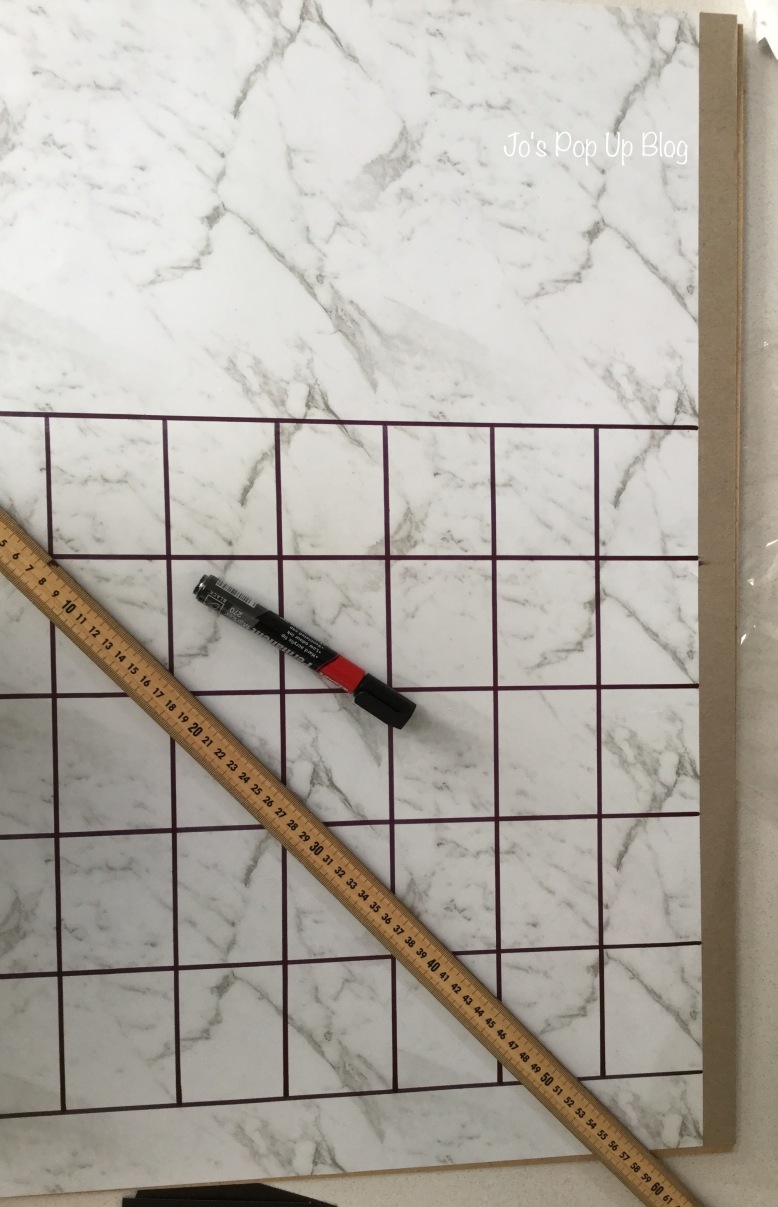
Moving on, I positioned the shelves at the height I needed them and then covered the desk shelf with my faux marble contact.  Looking good!  I made a hole in the back of the cupboard so that any electrical cords can be easily accessible.

I put all my folders on the higher shelf.  If I can be bothered, one day I might cover them so they all look the same.  This will do for now!  All my papers, plain a4, photo paper, transfer paper, and the rest are in trays under the desk and there is room next to them for my chair to go in when the cupboard is closed.

Every desk needs lighting, so I hung up some battery operated string lights that do a great job.  Better than I expected.

Next came the styling.  This is my favourite part, when everything comes together.  I used a file organiser from IKEA and attached it to the inside of the door.  A mail basket so mail actually has a home to live in that’s not on the dining table, and a pin board I made a while ago.

img_1086

So here’s the finished project.

IMG_1096.JPG

img_1091img_1090

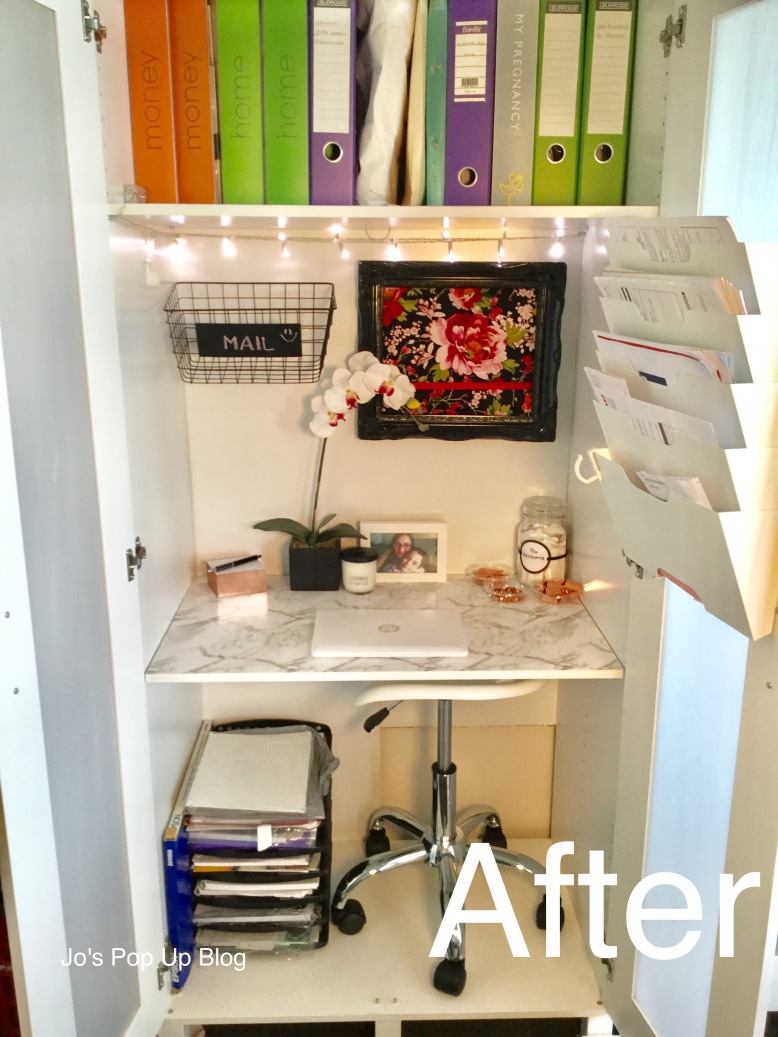
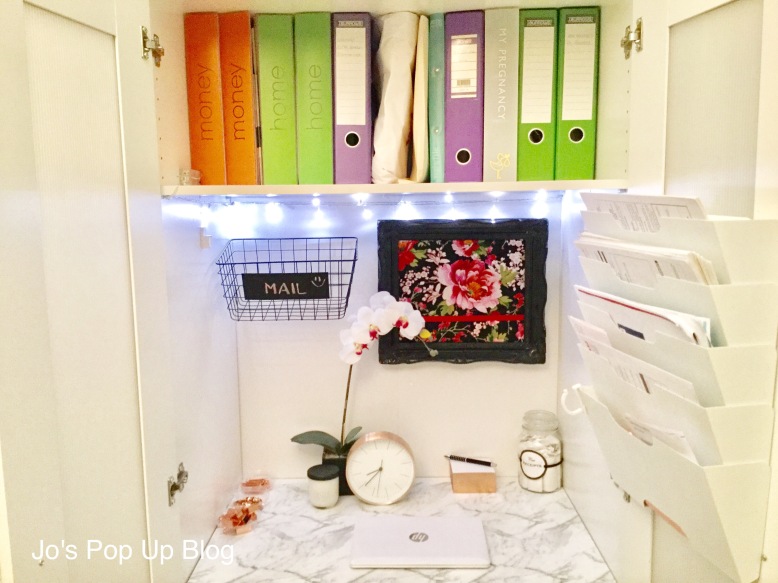
I love it, I might actually enjoy doing paperwork.  Yeah, ……….nah!

jo xx


Great Lego mini figure display

As a parent we have at one time or another screamed, shouted, swore and possibly cried after stepping on…….that dreaded Lego piece/pieces that your dear child/children has randomly left on the floor.  My eyes tear up just thinking of the pain caused by one of those friggin pieces.

There is yet to be a clever storage solution for lego.  I did however, come across this post on how to display those little Lego mini figures.  Click here for the post.

To cut a long story short, here are mine.

IMG_1075.JPG

img_1073

img_1072

Now all I need to do is teach dear child to put them back after he plays with them.  That shouldn’t be too hard, yeah right!

jo xx